Antony Parks
Antony Parks
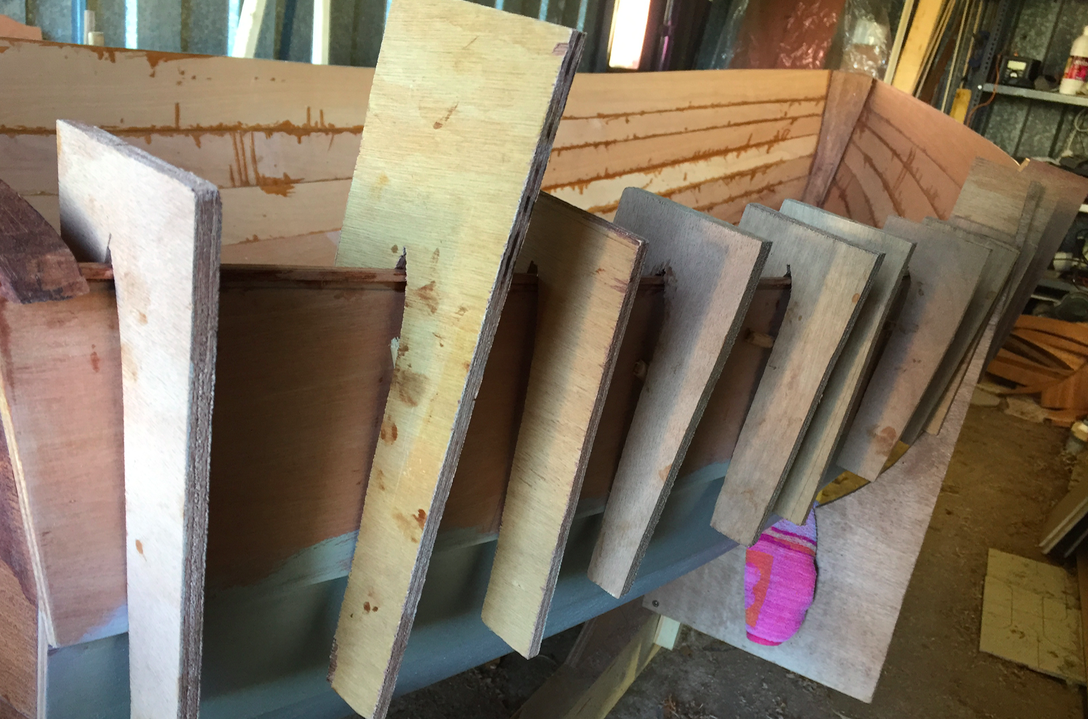
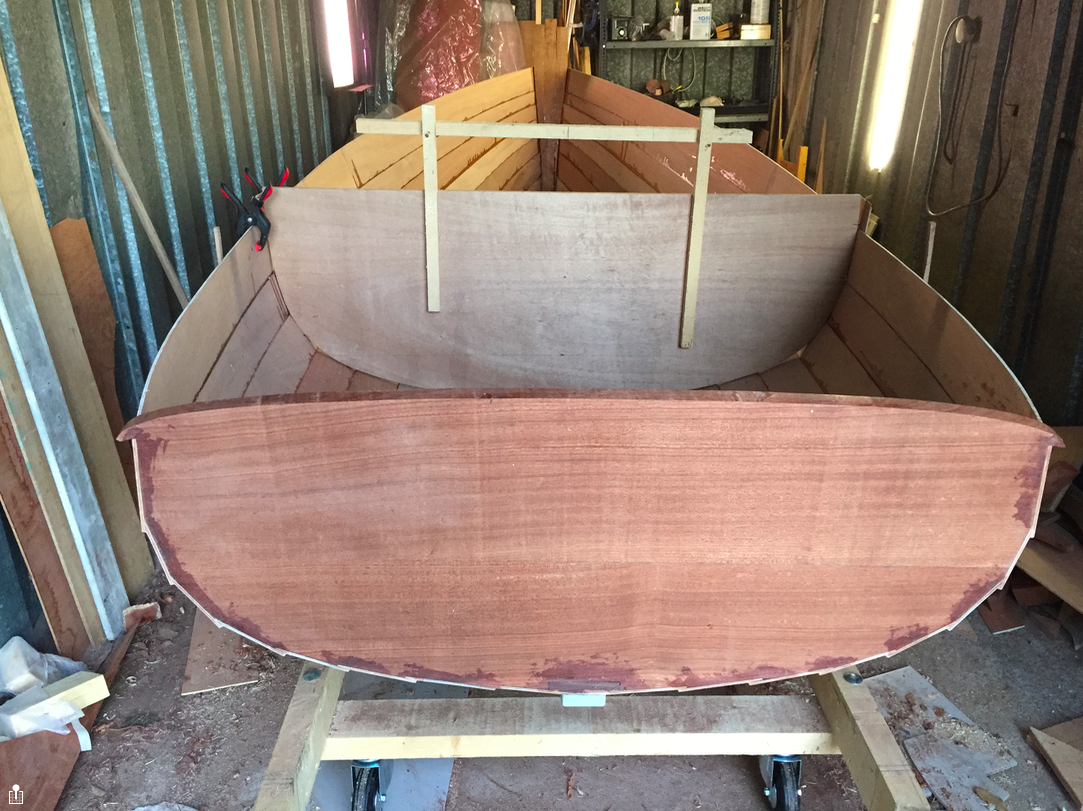
We returned to France from mid May to mid June, and had work to do to get the house ready for rentals, and had lots of people come to stay. As a result there wasnt much work on the boat, but I did get the strakes finished. Each side now has four strakes, 2 on the inside and 2 outside. Those agains the planks had to be shaped to fit to the boat, but the outter strakes didnt need shaping. This has stiffened the hull slightly, but it will need the floors etc to make it stiff.
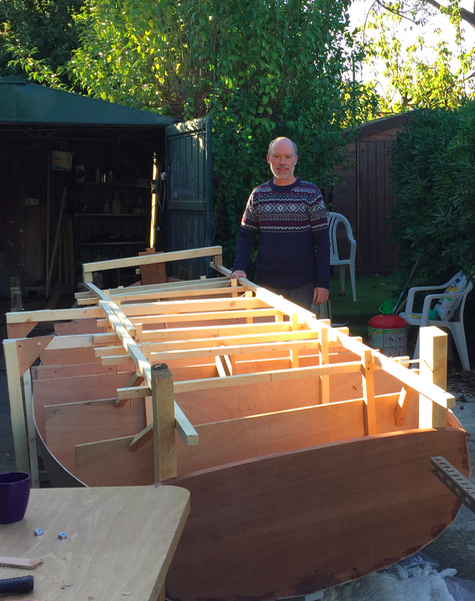
I have now made the templates for the knees and the floors in cardboard, and cut rough shapes out which I will cut back at home in my workshop.
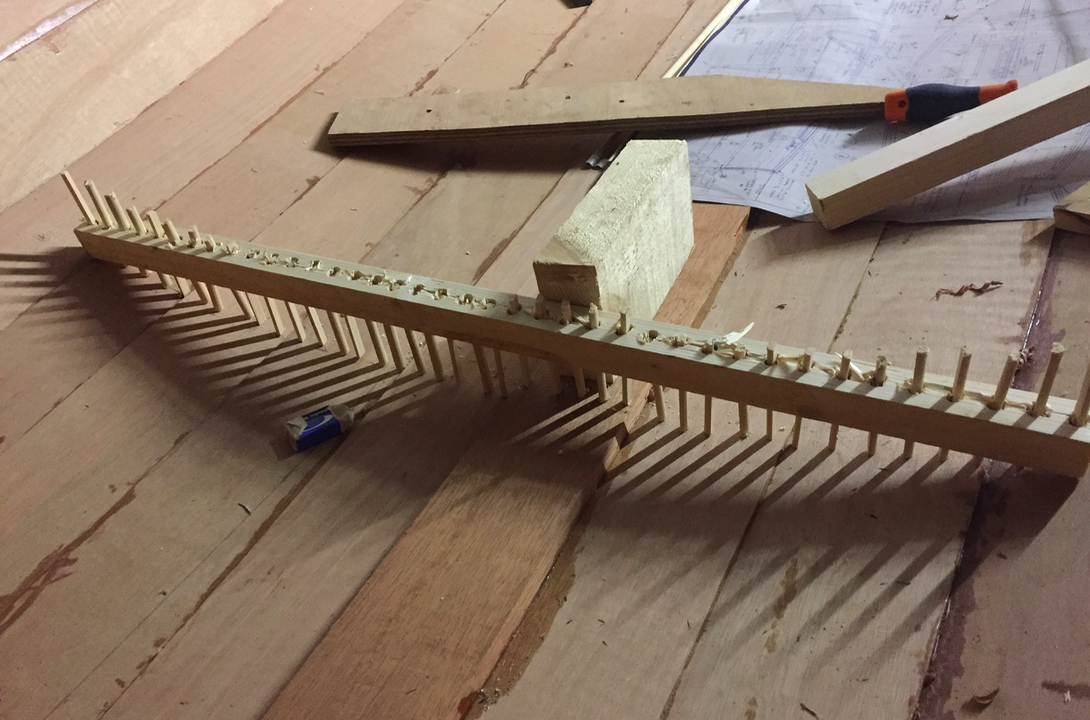
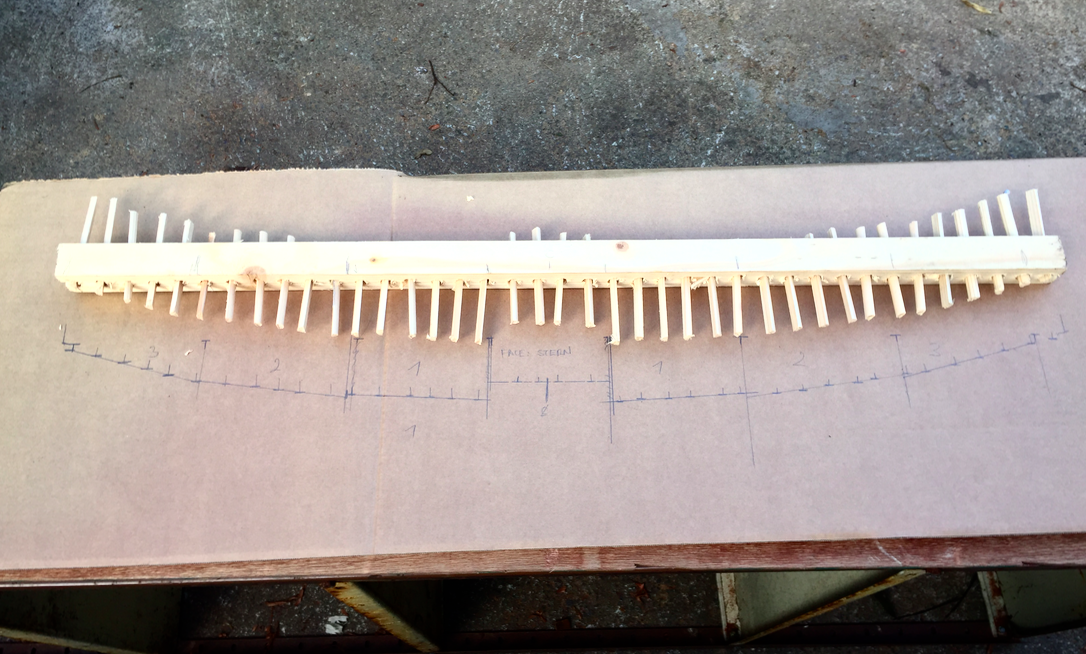
It was fun building a profile tool for the floorboards with a batten and pegs. It worked great in getting the shape for the floorboard. I have tried it for the rear board, and will use it again as I build the boards going forward. The cut out cardboard fitted perfectly.
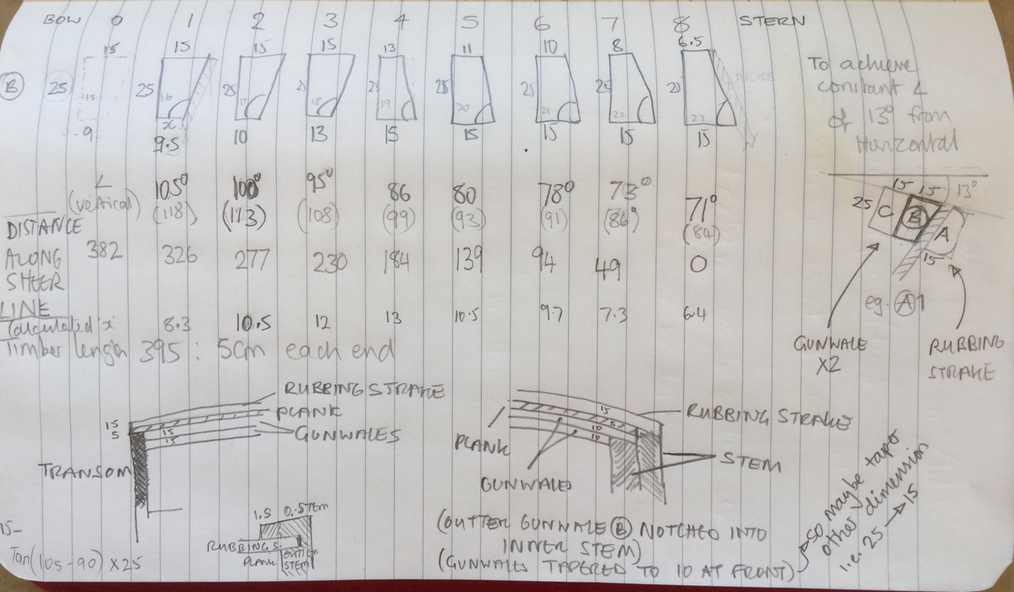
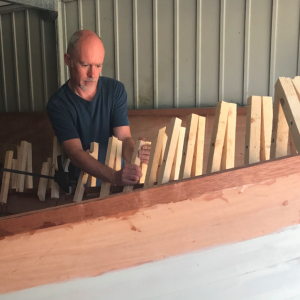
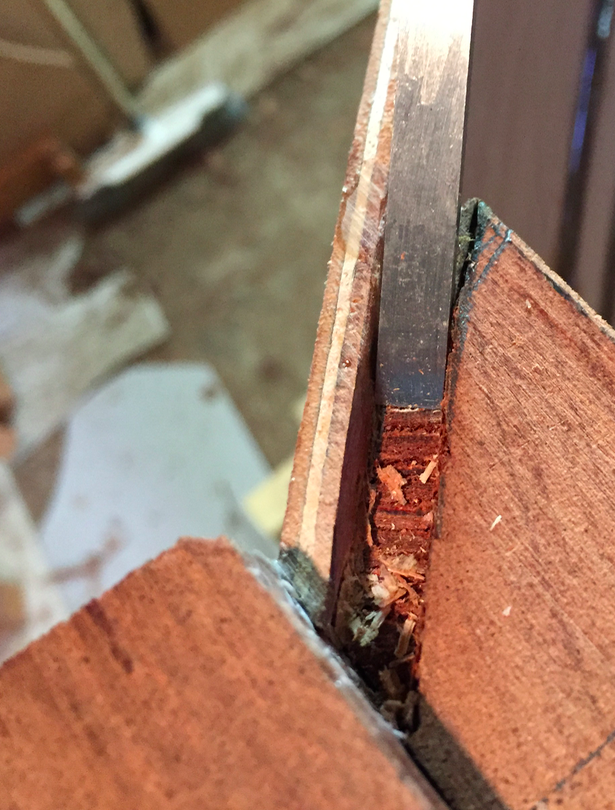
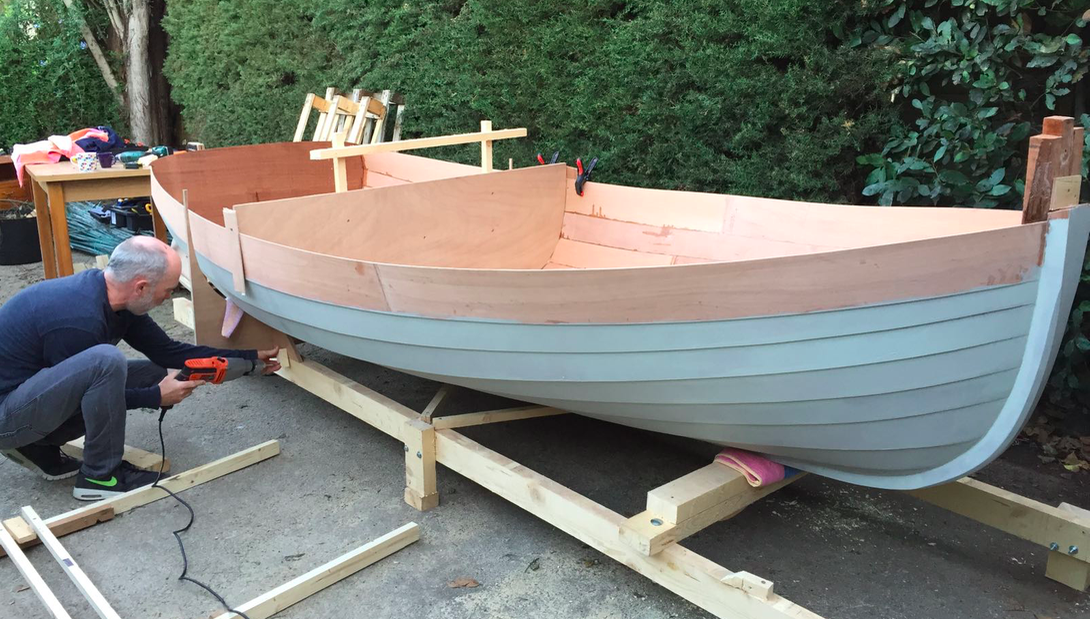
There are 2 gunwales fitted inside the sheer of the boat. I thought that they would be easy to cut and fit, but have proved to be pretty complex. The sheer edge is a 3 dimensional curve (curving out and back in from bow to stern, and curving up from stern to bow) and the gunwale is a reasonably solid piece of mahogany, making it difficult to twist. It therefore has to be cut to shape so that when bent into the sheer it fits against the plank. I got the profile at the different stations along the boat from the plans (see above) and planed the plank-side accordingly. I then found that the gunwale needed further shaping to get it to fit, making the shape more severe. I figured that the second gunwale (which fits to the inside of the first gunwale) which is rectangular profile will be even more stiff so the less twisting and forcing I need to do of the first will make the second easier. Having shaped it I made a new set of clamps, cut the slot in the front stem to fit it, and glued it in. It was difficult to get the length exactly right as well, and it ended up a little short so I will need to fill that later…
I guess that the outer strake will also need to be shaped, but that will probably wait until we get back out here after Christmas.

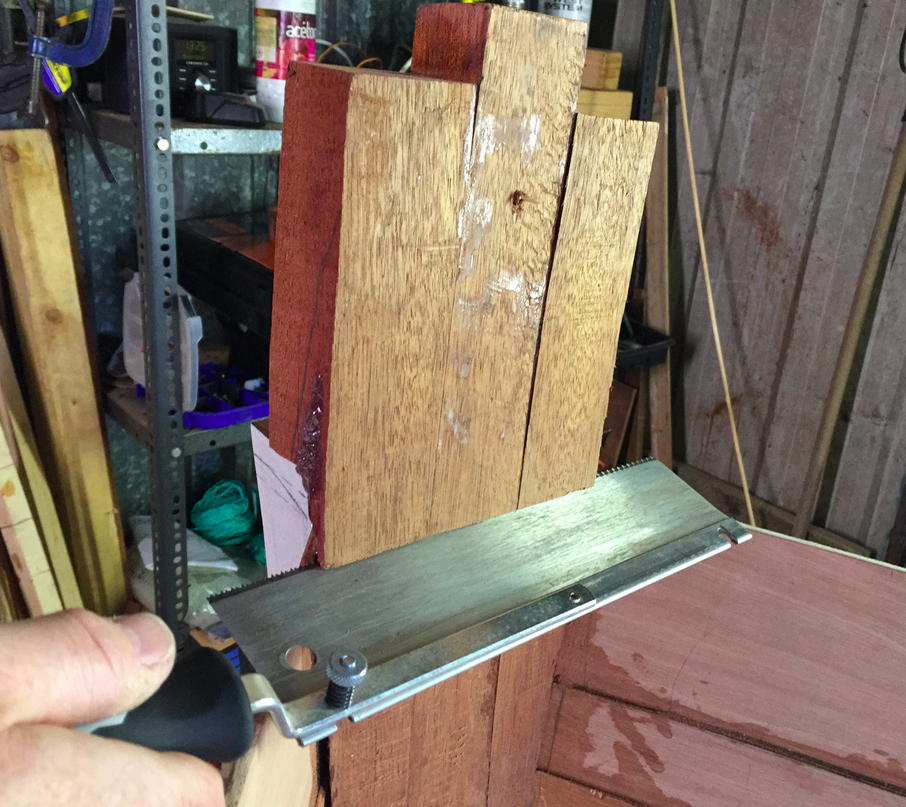
I had some thin mahogany left over from cutting the keel, so have decided to use it to veneer the edge of the sheer. Otherwise it will be plywood edge, and I am not sure that it will look right. Also the quality of the plywood core is not great in some areas which will show when completed. I had to do it in two sections per side, and am hoping that the join looks good. Having glued the starboard side, I realised that the sheerline is not great (I didnt spend much time getting it fair). I think that I should be able to improve it by planing the ‘veneer’ which is actually 2-3mm thick, prior to fitting the gunwale.
The stem was the first piece of the boat built, so it was a bit scary to cut it to shape, but had to be done. I have kept the outer stem proud for now so that I can shape it later depending on what I think looks right when the rest of the bow is completed.
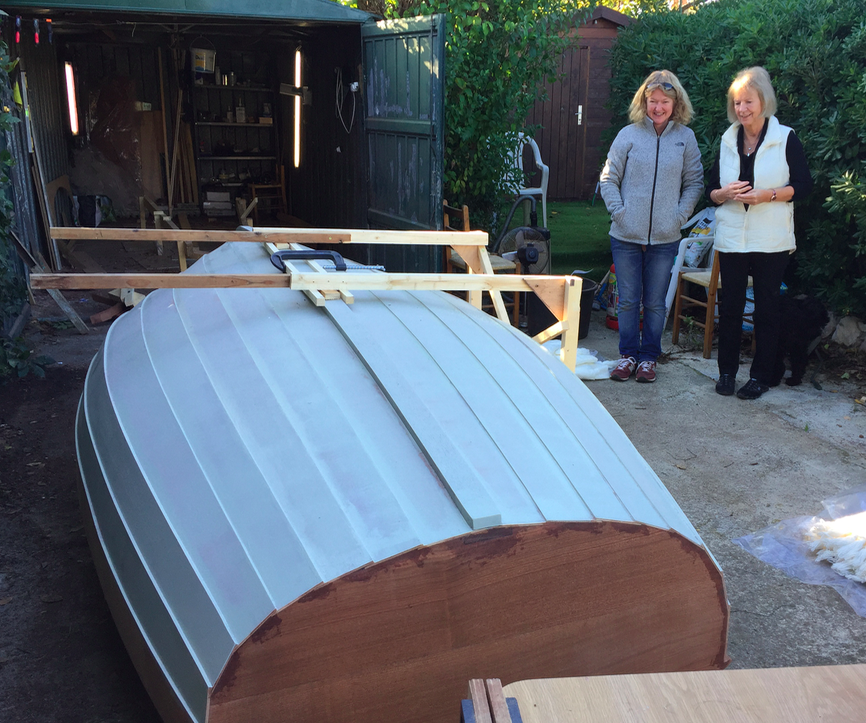
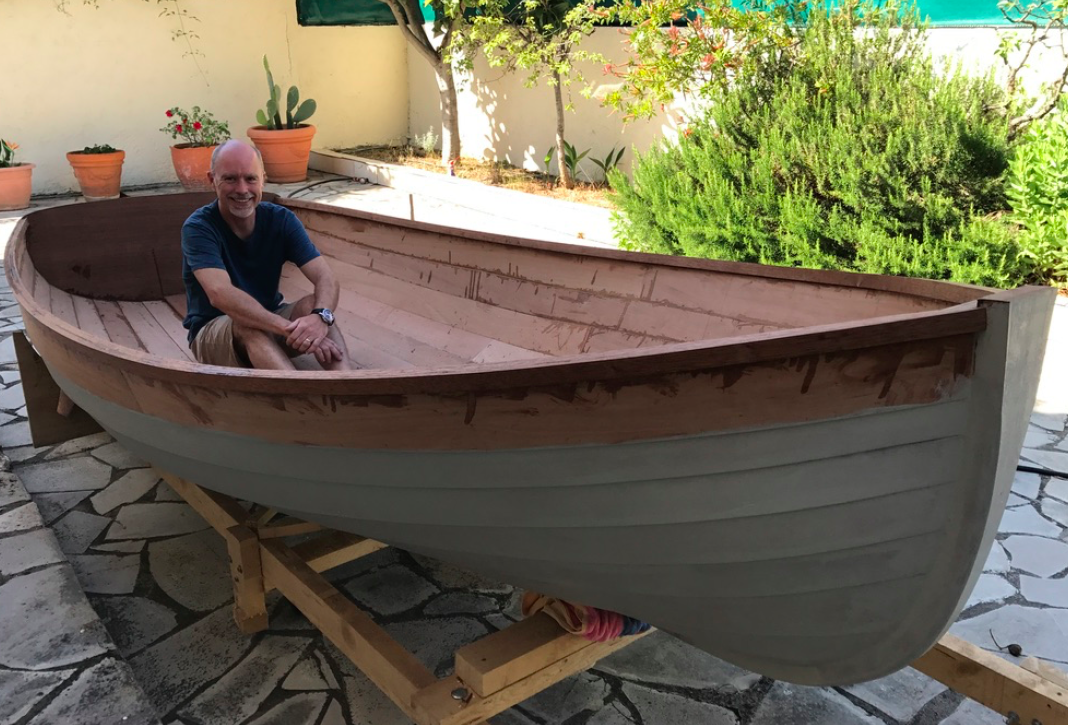
I was never sure how to turn the boat over – I looked online but didnt find much help. So I decided that the keel, stem and transom should be the fixing points. I connected all the moulds together end to end with battens so that I could lift the boat off the heavy frame ( which you can see still in the garage in the background in the picture above). Then I built a frame around the centre section of the boat attached to the battens / moulds underneath and clamped to the keel above. We then started to roll it… with crash blankets just in case …
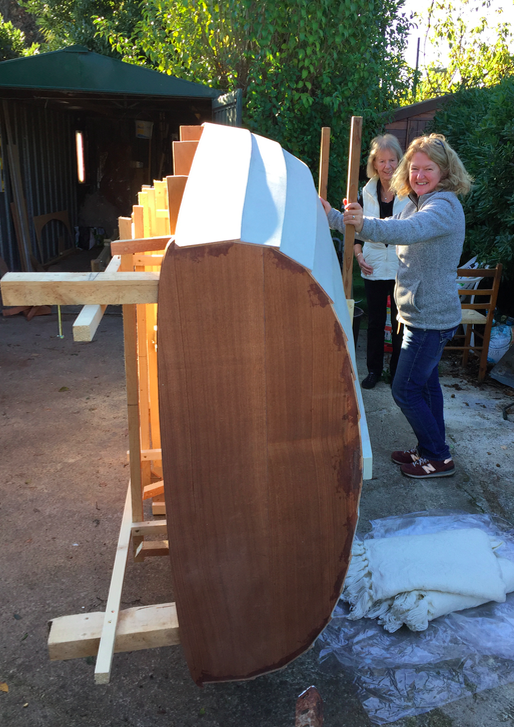
… and all the way over …
… and it survived, phew. A bit of tidying up of the battens and adapting the frame for the boat this way up, and then back in the garage, leaving one mould in the boat to maintain some stiffness while the next stages of work are done.
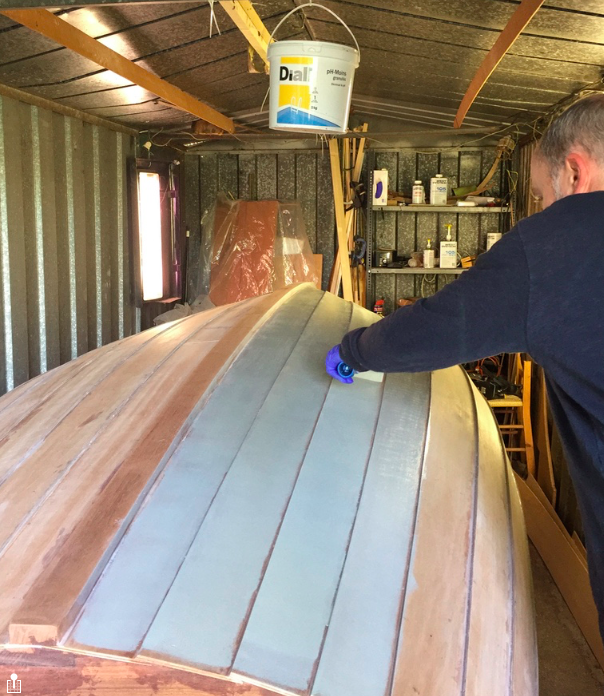
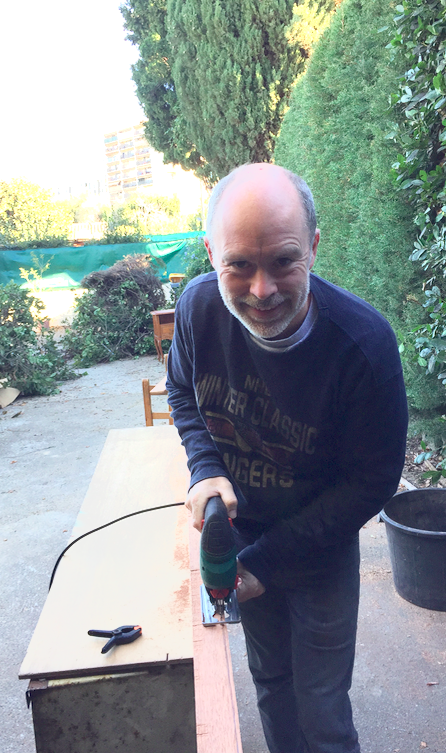
The eopxy primer from Hempel was quite difficult to use. It is very thick and gloopy resulting in challenges with the roller and brush. For the roller I used sponge rollers (as I had seen on a West System video). It rolls quite well but leaves a stippled finish which for other coats will need to be brushed over. The rollers are very fragile and disintegrate over time, particularly on the edges as they rub against the wood edges leaving bits of sponge stuck on the paint. I did try standard flannel type rollers, but they just clagged up and were useless. So I ended up using the sponge and changing regularly. I finished up with a brush for the edges. I thought initially that the paint was going off as it was so thick, but once I got used to painting by moving the brush slowly, the paint flowed reasonably well. There will be lots of rubbing down needed though . . .
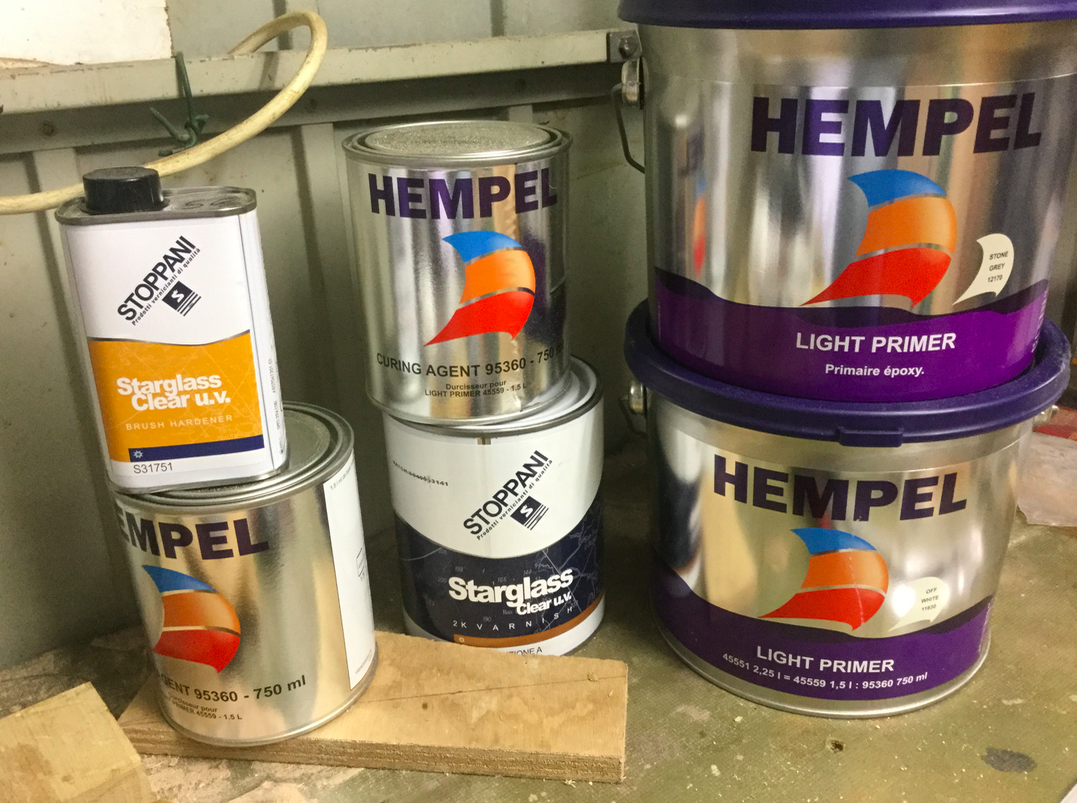
I have decided to use Hempel 2 part primer for the hull, with an International gloss over the top. For the bare wood I am going to prime and protect the timber with epoxy, and then use a polyurethane varnish that will protect the epoxy from going yellow in the sun. This set of six tins cost about €200.
© 2025 T&G
Theme by Anders Noren — Up ↑